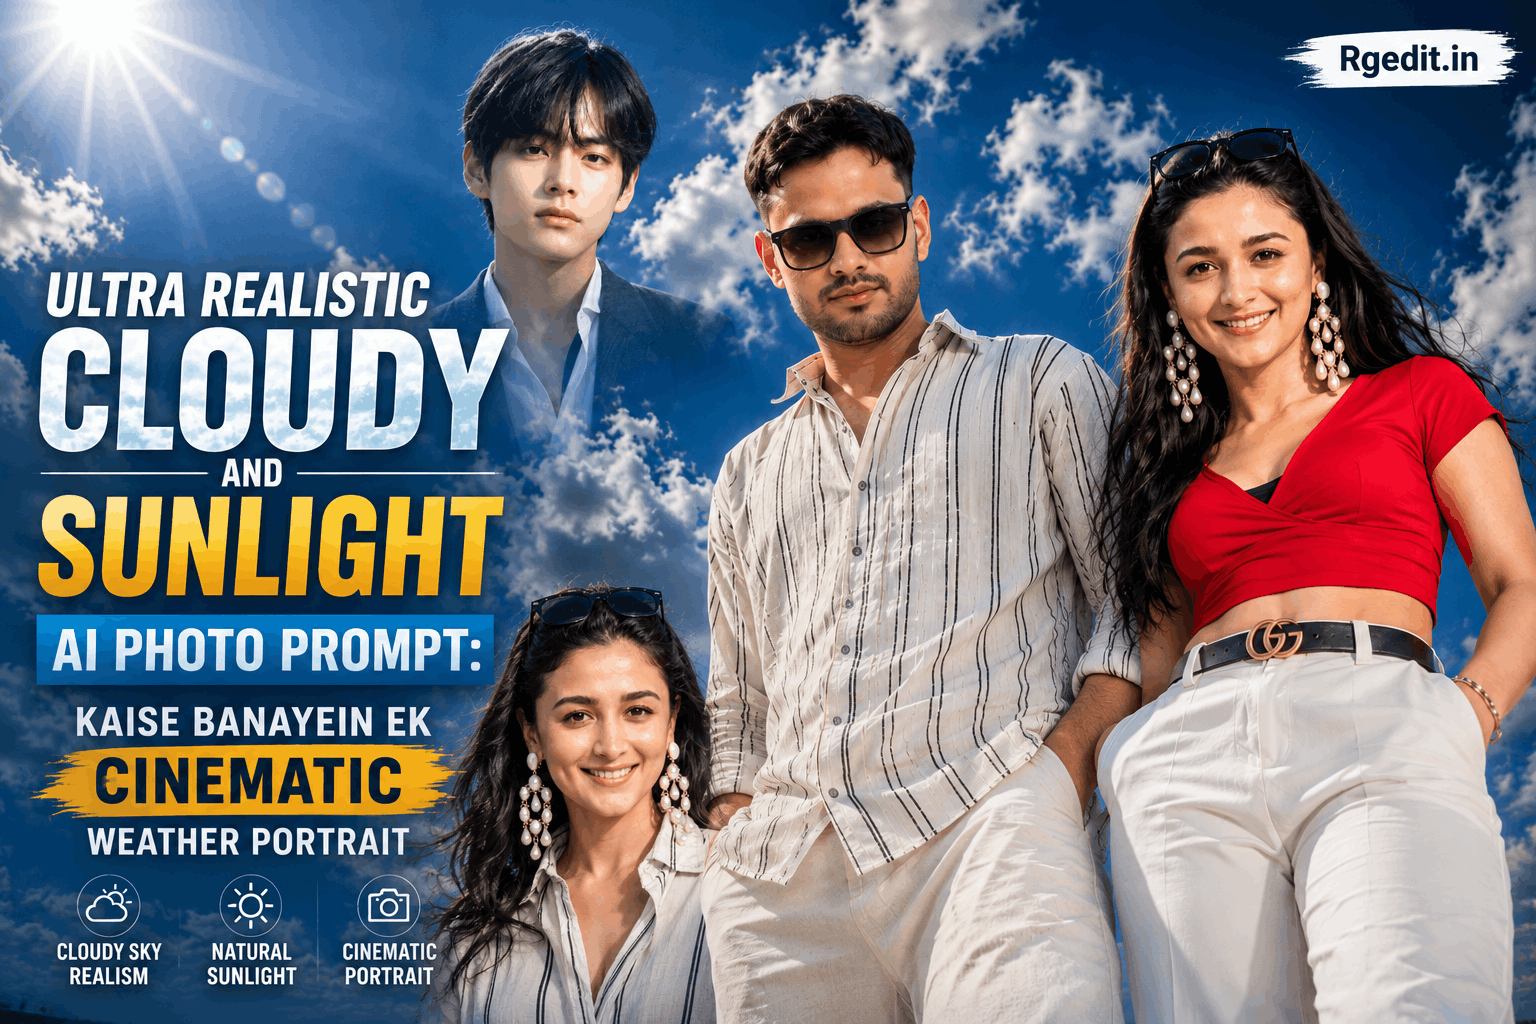
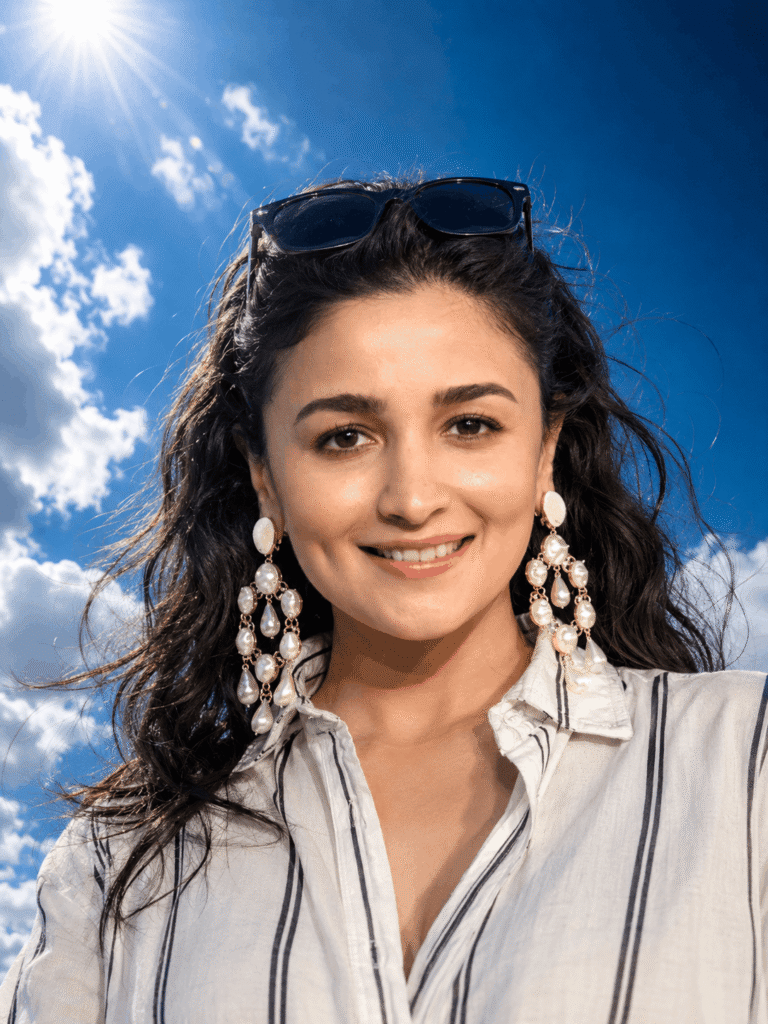
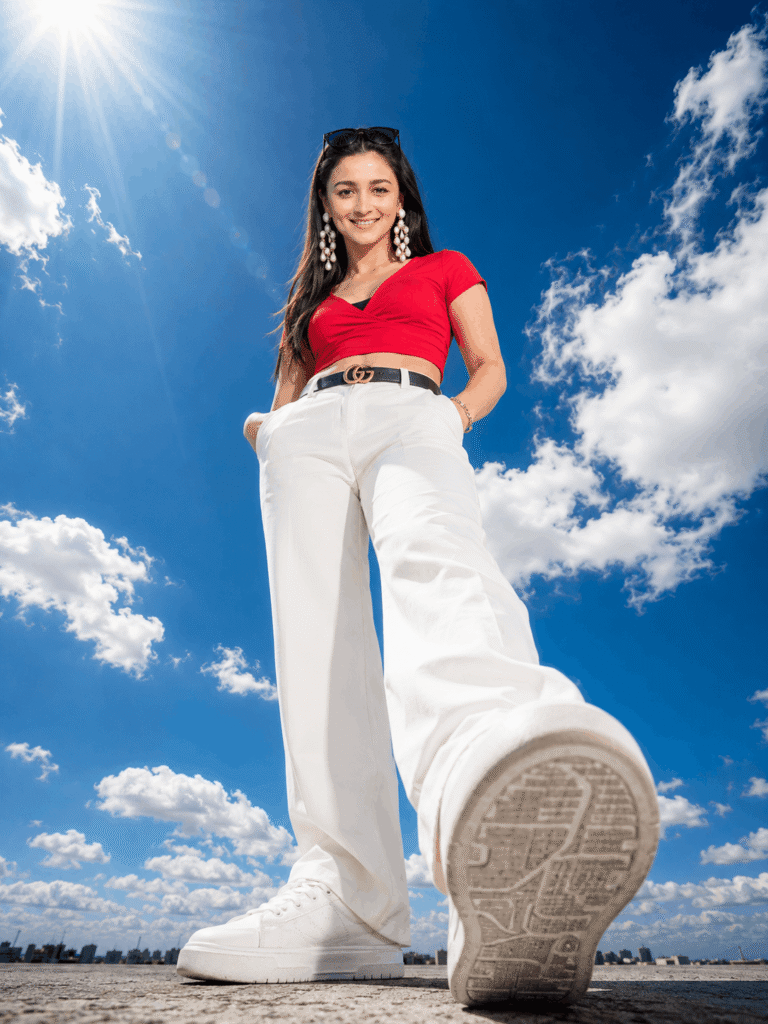
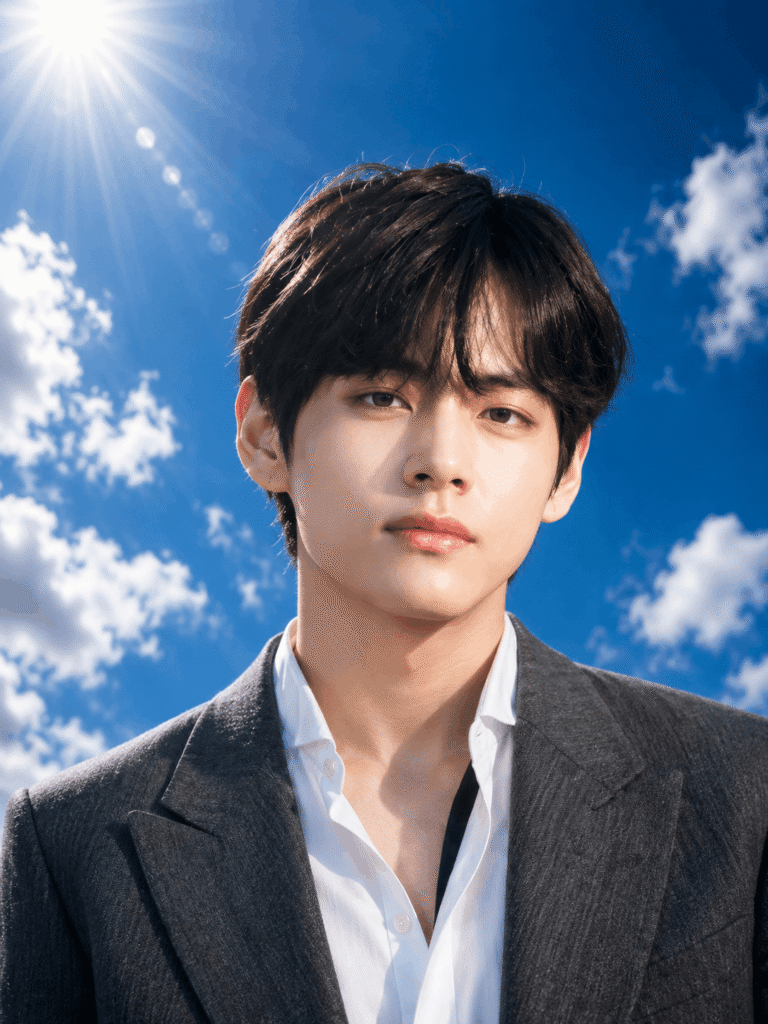
Kabhi socha hai ki wo photos jinme baadal ghire hue hain aur unke beech se dhoop chhan kar aa rahi hai — kaisi lagti hain? Ek hi frame me do mood: ek taraf soft, dramatic clouds, doosri taraf warm golden light jo subject ke chehre par gir rahi ho. Yeh look photography me “God rays through clouds” ya “dappled sunlight” kehlata hai, aur professional photographers isko capture karne ke liye ghanto weather ka wait karte hain.Ultra Realistic Cloudy and Sunlight AI Photo Prompt
AI ke saath ab yeh wait khatam ho gaya hai. Lekin sach yeh hai ki zyada tar log jo prompt copy-paste karte hain, unka result flat aur artificial dikhta hai — na baadal real lagte hain, na light natural. Is guide me hum sirf prompt nahi denge, balki yeh bhi samjhenge ki result ultra-realistic kyun nahi aata aur usay kaise theek karein.
Yeh Look Kaam Kyun Karta Hai
Cloudy-aur-sunlight combination itna popular isliye hai kyunki yeh do cheezein saath me deta hai jo normal photo me kam milti hain: texture aur emotion. Clouds photo ko depth dete hain — flat blue sky ke bajaye aasman me movement aur drama nazar aata hai. Aur jab dhoop clouds ke gaps se chhan kar aati hai, to subject ke chehre par natural highlight-shadow ban jaata hai jo kisi bhi studio light se zyada organic lagta hai.
Instagram aur Pinterest par yeh style is liye viral hai kyunki yeh “cinematic” feel deta hai bina kisi heavy editing ke — jaise photo kisi movie ka still frame ho.
Prompt (ChatGPT / Gemini ke liye)
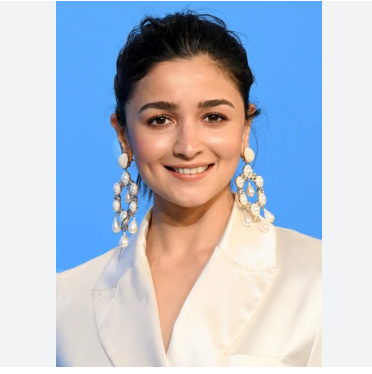
Neeche diya gaya prompt aapke uploaded selfie ke saath use karein:
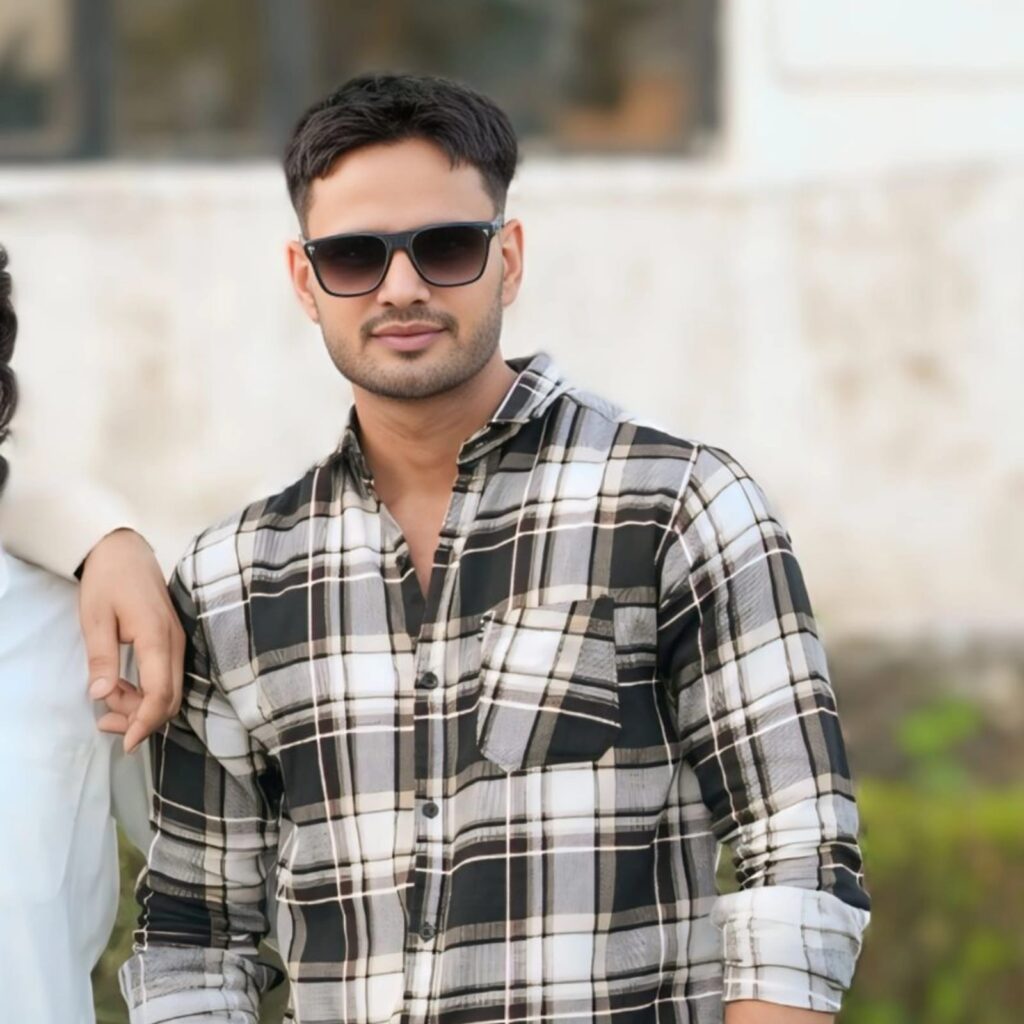
Before
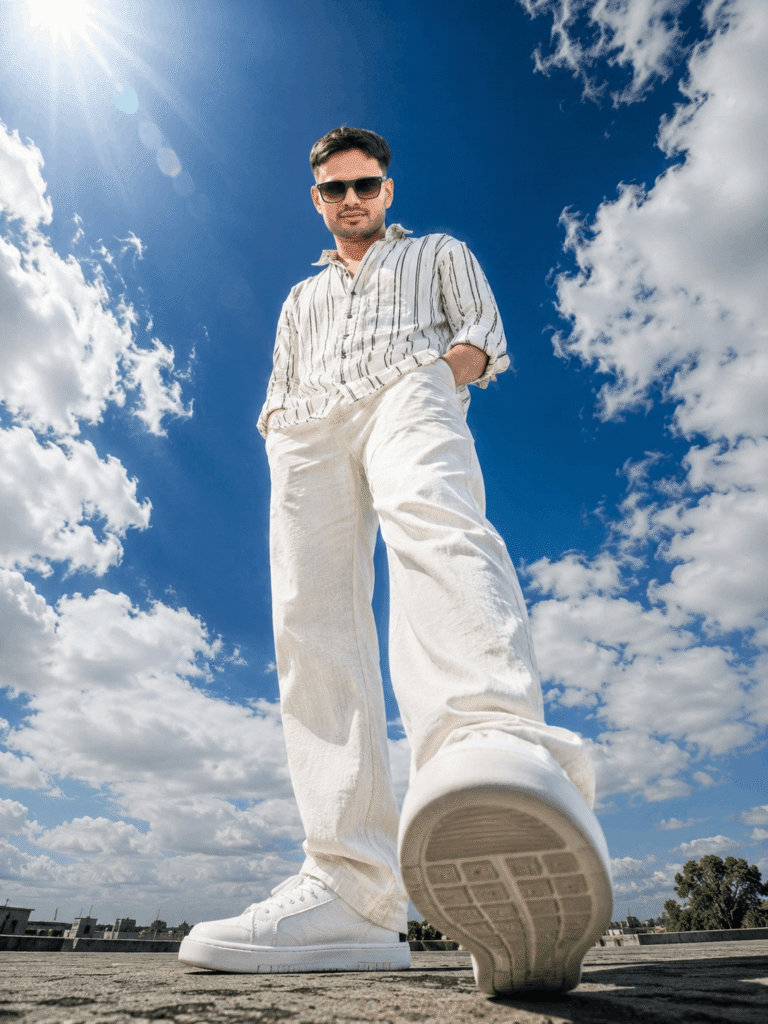
Result
Prompt Copy Karne Ke Baad Kya Galtiyan Hoti Hain
Zyada tar log yahi prompt daal kar seedha result expect karte hain, lekin teen common problems aati hain:
1. Clouds bahut flat ya painting jaisa dikhna Agar aapka base photo indoor hai ya lighting already flat hai, to AI clouds ko “sticker” jaisa add kar deta hai. Isko fix karne ke liye prompt me yeh line add karein: “clouds should cast realistic soft shadows on the ground and subject, not appear as a flat background layer.”
2. Sunlight ka direction match na hona Agar aapki original photo me light already ek side se aa rahi hai (jaise window light), aur prompt me aap opposite direction ki sunlight maang rahe hain, to AI confuse ho jaata hai aur do alag lighting sources create kar deta hai jo unnatural lagta hai. Solution: original photo aisi choose karein jisme lighting already thodi neutral ya diffused ho, taaki AI usay naturally overwrite kar sake.
3. Skin tone wash out ho jaana Warm golden light add karte waqt kai baar AI skin tone ko overly yellow ya orange kar deta hai. Isse rokne ke liye prompt me clearly likhein: “preserve natural skin tone accuracy, only adjust lighting and highlights, not the underlying color.”
Konsa Tool Best Result Deta Hai
- ChatGPT (GPT-4o image): Face identity preserve karne me sabse consistent hai. Agar aapka main goal selfie ko realistic rakhna hai, yeh best choice hai.
- Gemini: Lighting aur cloud texture ko zyada artistic/cinematic banata hai, lekin kabhi-kabhi face thoda alter kar deta hai — isliye “do not alter facial structure” line zaroor add karein.
- Midjourney: Sabse zyada dramatic aur professional-photography jaisa result deta hai, lekin yeh face-upload feature abhi limited hai, isliye personal selfie ke liye best nahi.
Agar aapke paas time hai, to same prompt teeno tools par try karke best result choose karna sabse smart approach hai — kyunki har tool ka “interpretation” thoda alag hota hai.
Before
Result
Customization Ideas
Is base prompt ko aap apni zarurat ke hisaab se modify kar sakte hain:
- Portrait style ke liye: “close-up shot, shallow depth of field, blurred cloudy background” add karein
- Couple photo ke liye: “two people standing together, both faces preserved accurately, sunlight falling equally on both” likhein
- Traditional/ethnic outfit ke saath: outfit ka naam specifically mention karein (jaise “wearing a saree” ya “wearing a kurta”) taaki AI usay generic clothing se replace na kare
- Evening golden hour version: “sunlight” ki jagah “golden hour sunset light, longer shadows, orange-pink sky tones” use karein
Before Posting: Ek Chhoti Si Checklist
Photo generate karne ke baad yeh 3 cheezein zaroor check karein:
- Kya face original selfie se match kar raha hai (especially eyes aur jawline)?
- Kya shadows ka direction sunlight ke direction se consistent hai?
- Kya skin texture natural lag raha hai ya overly smooth/plastic jaisa?
Agar in teeno me se koi bhi cheez off lage, to prompt me sirf usi specific part ko refine karein — pura prompt dobara likhne ki zarurat nahi.
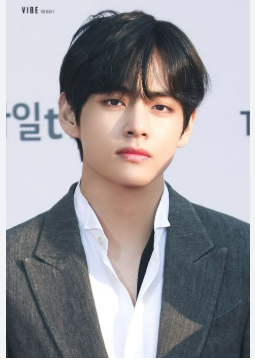
Before
Result
Aakhri Baat
Ultra-realistic cloudy-sunlight portrait ka asli secret prompt ke words me nahi, balki lighting consistency aur identity preservation ki clarity me hai. Jo log sirf generic prompt copy karte hain unka result “AI-generated” jaisa dikhta hai — lekin jo log apni original photo ki lighting samajh kar prompt ko us hisaab se adjust karte hain, unka result kisi professional photoshoot se kam nahi lagta.
Agla step: yeh prompt try karein, aur agar result me koi specific issue aaye (jaise clouds bahut zyada dominant ho gaye ya face thoda badal gaya), to comment me batayein — hum us specific problem ke liye refined prompt version share karenge.
123456