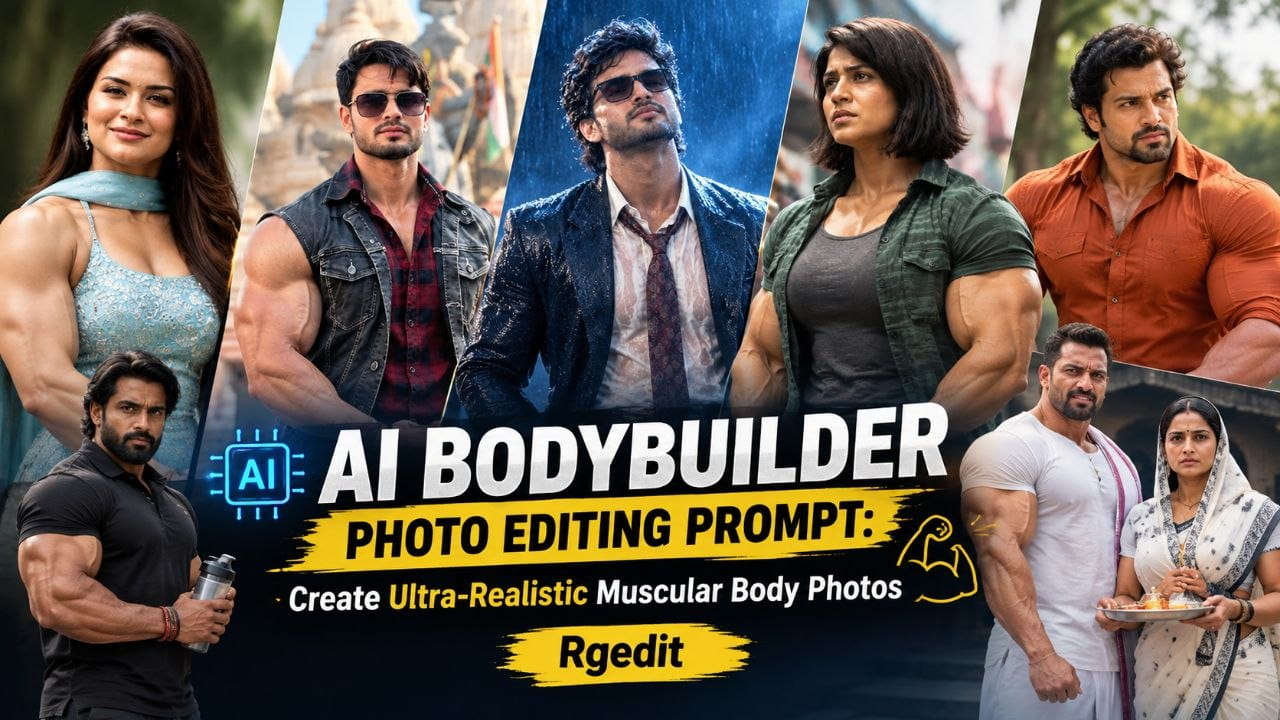
AI Bodybuilder Photo Editing Prompt -आज हर fitness creator, gym trainer और content creator एक ही चीज़ चाहता है — एक ऐसी photo जो Instagram पर scroll रोक दे। लेकिन professional photoshoot, studio lighting और editing team हर किसी का budget नहीं है।
यहीं पर AI photo editing तस्वीर बदल देता है। एक normal mirror selfie को आप एक magazine-style bodybuilder shot में बदल सकते हैं — बशर्ते आपका prompt सही हो। ज़्यादातर लोग fail इसलिए होते हैं क्योंकि वो लिखते हैं “make me muscular” और result plastic जैसा आता है।
इस guide में आपको मिलेंगे ready-to-use prompts, prompt लिखने का formula, और वो छोटी-छोटी details जो output को fake से real बनाती हैं।
AI Bodybuilder Photo Editing क्या है?
AI bodybuilder photo editing का मतलब है — किसी existing photo को AI image model में डालकर उसका body structure, lighting, muscle definition और background इस तरह enhance करना कि result एक professional fitness shoot जैसा दिखे।
पुराने Photoshop workflow में यही काम घंटों लेता था — dodge and burn, frequency separation, manual liquify। अब वही काम एक detailed text prompt से 30 सेकंड में हो जाता है।
मुख्य categories:
- Body enhancement — existing physique को define करना
- Lighting transformation — flat phone light को dramatic studio light में बदलना
- Background replacement — घर का कमरा → professional gym या dark studio
- Full stage transformation — competition-style posing shot
कौन से AI Tools सबसे अच्छे हैं?
| Tool | किसके लिए Best | Realism Level |
|---|---|---|
| Google Gemini (Nano Banana) | Face identity बचाते हुए body editing | ⭐⭐⭐⭐⭐ |
| ChatGPT Image Editing | Detailed prompt control | ⭐⭐⭐⭐ |
| Grok Imagine | Fast, bold transformations | ⭐⭐⭐⭐ |
| Midjourney | Scratch से new character | ⭐⭐⭐⭐⭐ |
| Leonardo AI | Batch fitness content | ⭐⭐⭐ |
अगर आप अपनी ही photo edit कर रहे हैं तो Gemini और ChatGPT सबसे भरोसेमंद हैं, क्योंकि ये face features को बेहतर preserve करते हैं।
Perfect Prompt का Formula
एक strong AI bodybuilder photo editing prompt में 7 elements होते हैं। इसे याद रखने के लिए formula:
SUBJECT + BODY DETAIL + POSE + LIGHTING + BACKGROUND + CAMERA + REALISM TAGS
आइए एक-एक करके समझते हैं:
यह एक line output quality 50% सुधार देती है।
Pro tip: “natural asymmetry” शब्द जोड़ने से AI perfectly symmetrical plastic look नहीं बनाता।
3. Pose
- Front double biceps
- Side chest pose
- Lat spread
- Relaxed standing with arms crossed
- Mid-workout dumbbell curl
4. Lighting (Realism की जान)
Flat light कभी muscular नहीं दिखाता। Shadow से definition आती है:
“dramatic side lighting from the left, hard rim light on the shoulders, deep shadows in muscle separation”
5. Background
“dark charcoal studio backdrop with subtle gradient falloff”
या
“modern gym with blurred equipment, shallow depth of field”
6. Camera Specs
“shot on Canon EOS R5, 85mm lens, f/2.8, ISO 100”
7. Realism Tags
“photorealistic, natural skin texture with visible pores, subtle sweat sheen, no plastic smoothing, 8K detail”
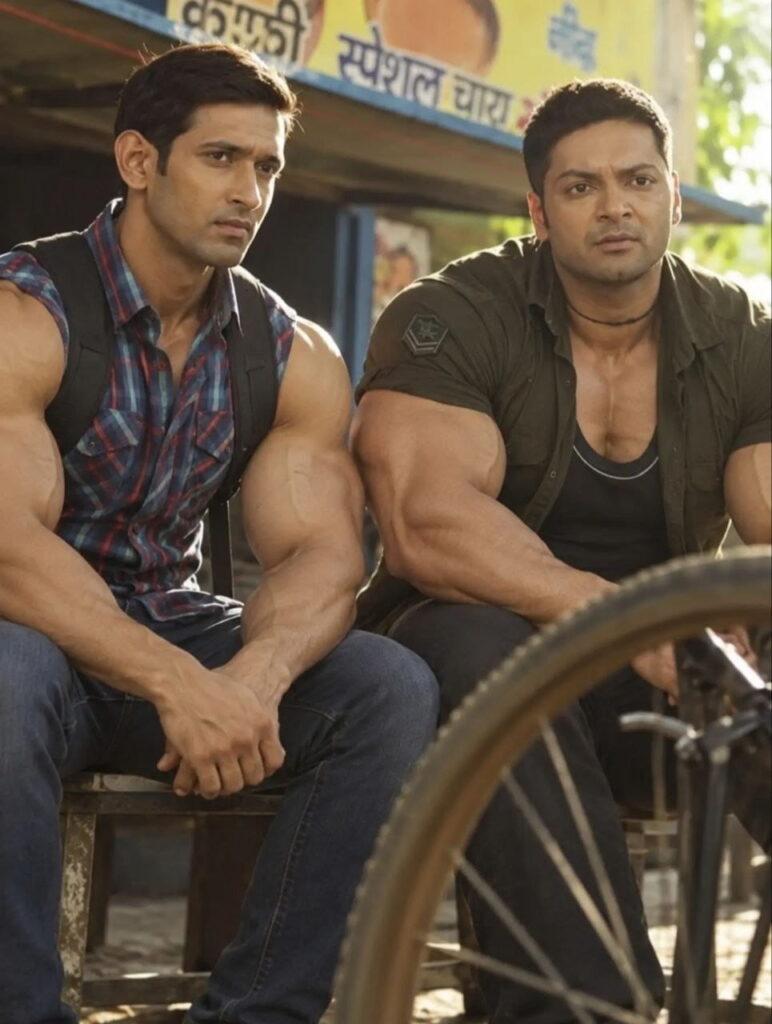
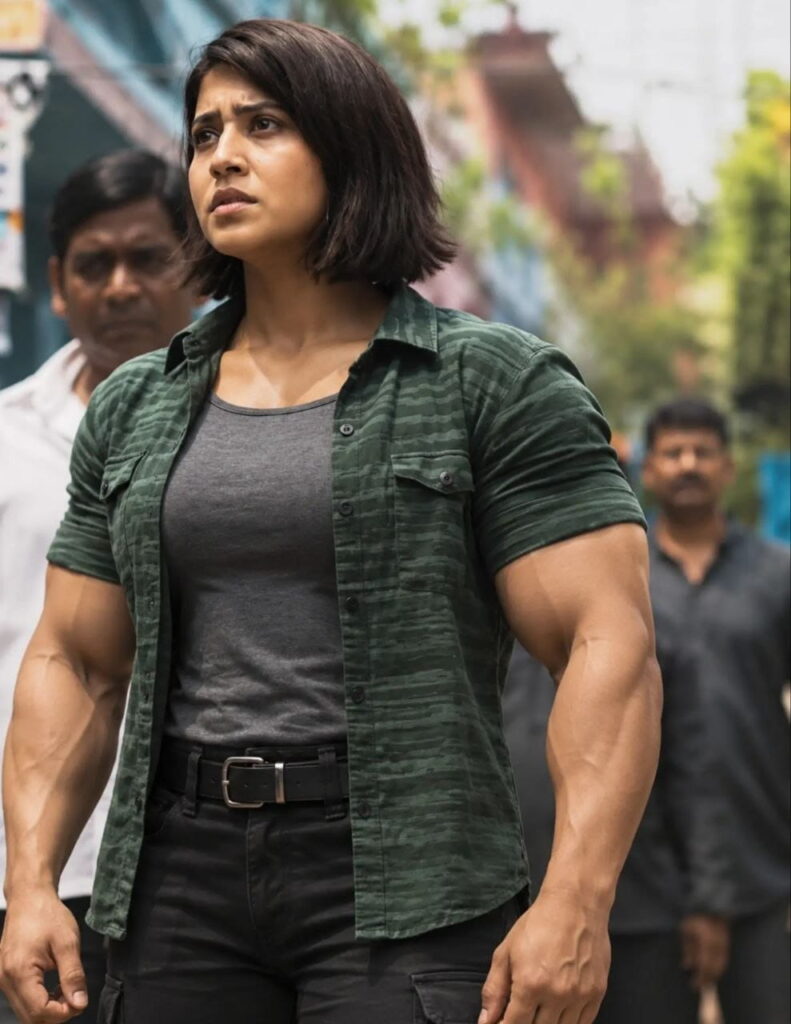
Ready-to-Use Prompts (Copy-Paste)
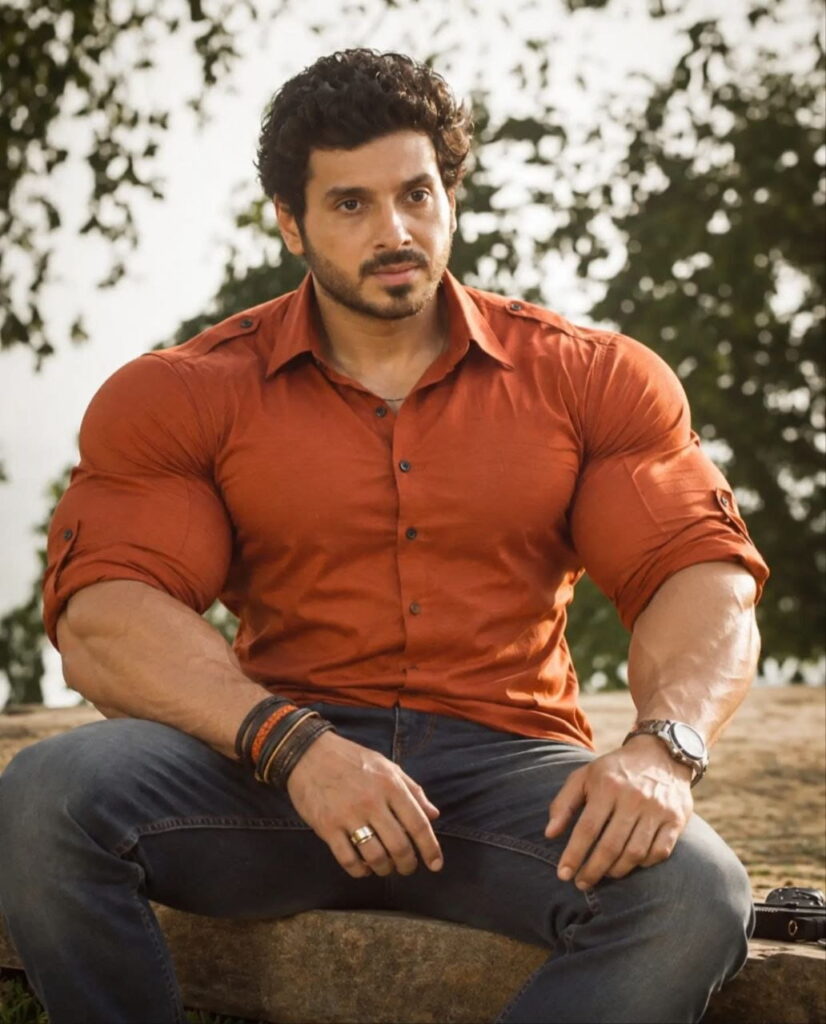
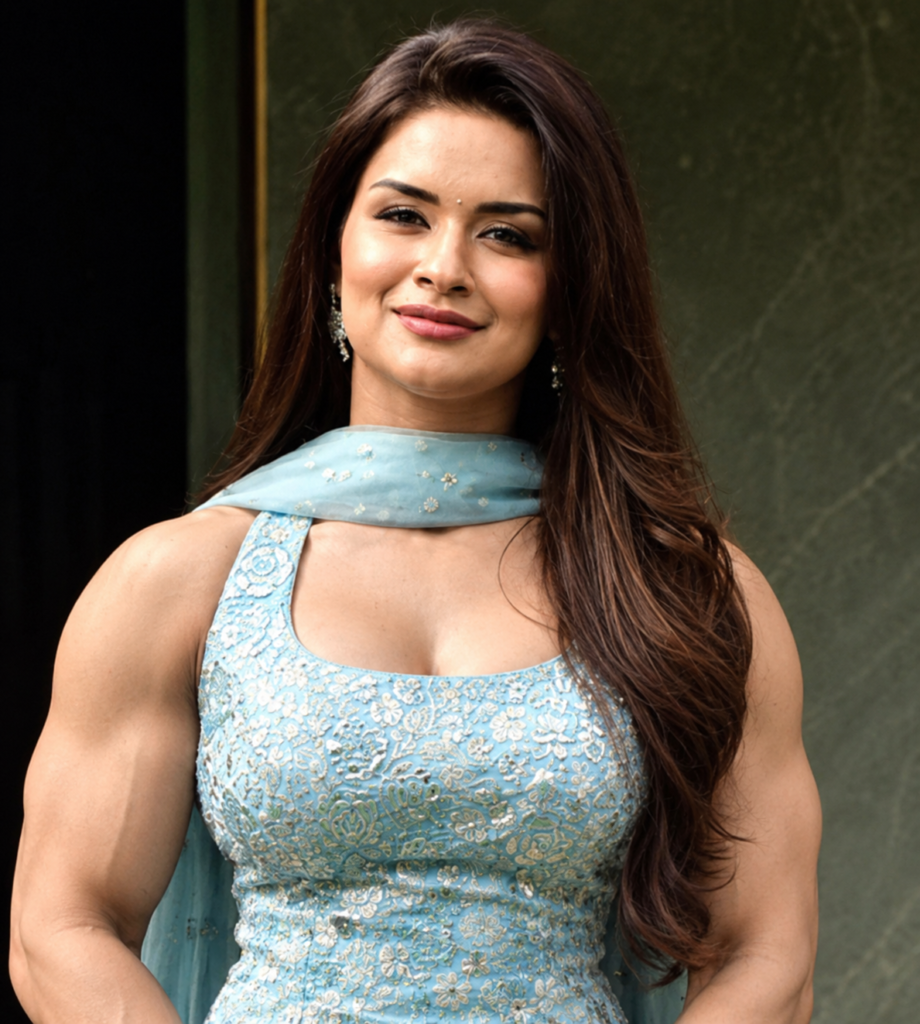
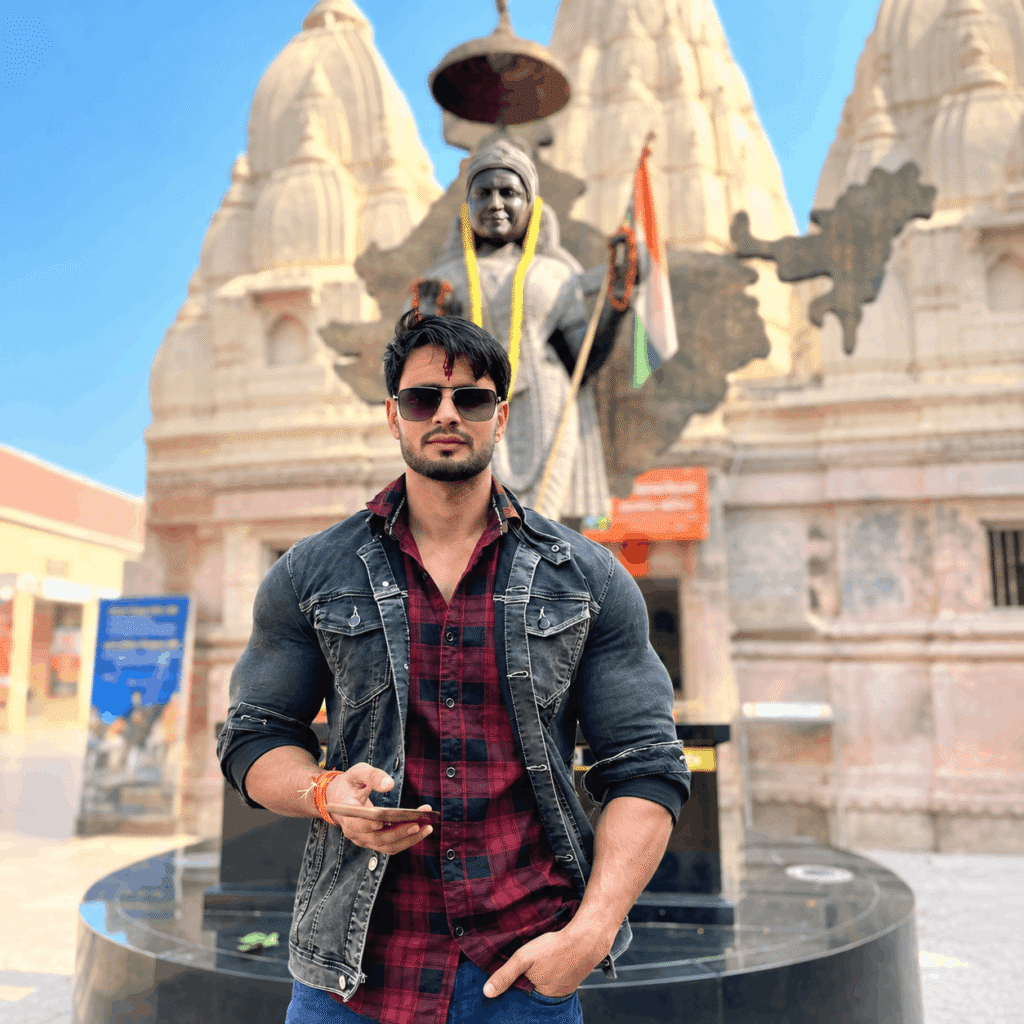
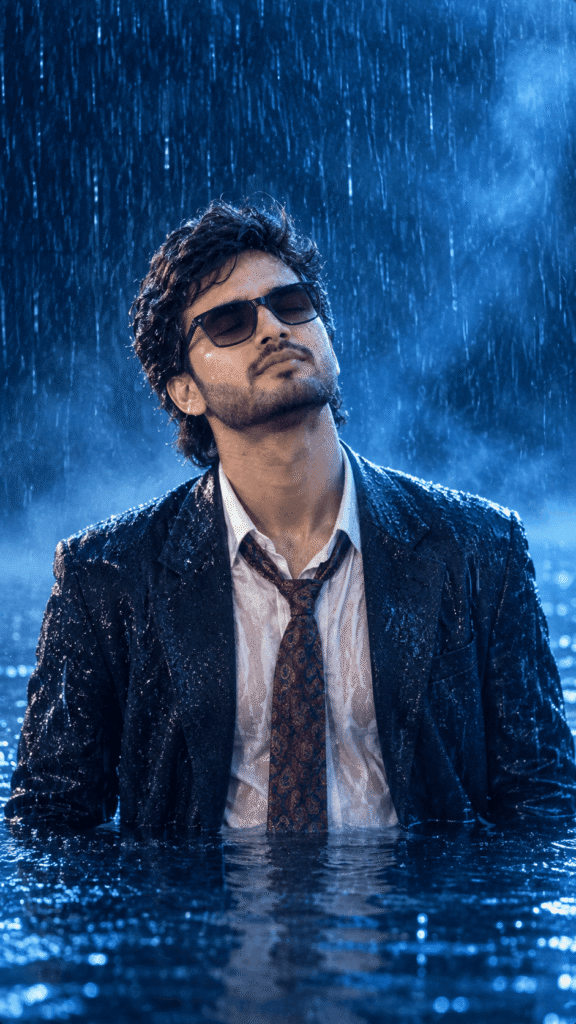
Bonus Prompt
Common Mistakes जो Result बर्बाद करती हैं
1. Prompt बहुत छोटा लिखना
“Make me muscular” → AI guess करेगा और आमतौर पर गलत guess करेगा।
2. Realism tags छोड़ देना
“natural skin texture”, “visible pores”, “no plastic smoothing” — ये तीन phrases fake look को काफी हद तक रोकती हैं।
3. Lighting mention न करना
Muscle definition 70% lighting से आती है, body shape से नहीं। Flat light में सबसे बड़ा bodybuilder भी average दिखेगा।
4. Over-exaggeration
“extremely huge massive muscles” → cartoon output। Realistic रहना है तो “lean athletic” या “well-defined” जैसे terms बेहतर हैं।
5. Low-quality input image
AI blurry photo से चमत्कार नहीं कर सकता। Input जितना sharp, output उतना बेहतर।
6. Face preserve instruction न देना
बिना इसके AI अक्सर चेहरा भी बदल देता है।
Output को और Real बनाने के Pro Tips
- Imperfection जोड़ें: “slight skin blemishes”, “uneven tan lines”, “natural asymmetry”
- Environment reflection: “gym lighting reflecting off the skin”
- Fabric detail: “cotton tank top with natural wrinkles and sweat marks”
- Depth of field: “shallow depth of field, background softly blurred”
- Iterative editing: एक बार में सब कुछ मत माँगिए — पहले body, फिर lighting, फिर background। हर step में refine करें।
- Negative instruction: “avoid plastic skin, avoid over-saturated colors, avoid unrealistic proportions”
एक ज़रूरी बात: Honesty
Edited fitness photos post करना पूरी तरह normal है — लगभग हर brand campaign edited होता है। लेकिन अगर आप coaching बेच रहे हैं या transformation results दिखा रहे हैं, तो AI-edited image को real result बताना आपके audience के साथ गलत है और आपकी credibility भी खत्म कर सकता है।
Creative और aesthetic content के लिए AI editing use करें, proof के तौर पर नहीं। एक छोटा सा “AI enhanced” tag आपका trust बचा लेगा।
FAQ
Q1. क्या AI bodybuilder photo editing free है?
Google Gemini और Grok में limited free image editing उपलब्ध है। Heavy usage के लिए paid plan चाहिए।
Q2. सबसे realistic result किस tool से मिलता है?
Face identity बचाने के लिए Gemini सबसे अच्छा है; scratch से character बनाने के लिए Midjourney।
Q3. AI photo real लग सकती है क्या?
हाँ, अगर prompt में lighting, camera specs और skin texture details शामिल हों। Detail जितनी ज़्यादा, realism उतना बेहतर।
Q4. क्या Instagram AI photos को detect करता है?
कई platforms अब AI content labeling कर रहे हैं। Metadata और visual signatures से detection संभव है, इसलिए disclosure बेहतर रास्ता है।
Q5. Input photo कैसी होनी चाहिए?
Good lighting, sharp focus, full torso visible, plain background — इन चार चीज़ों से output नाटकीय रूप से बेहतर होता है।
Conclusion
AI bodybuilder photo editing कोई shortcut नहीं, एक creative tool है। असली फर्क tool से नहीं, prompt की quality से आता है।
ऊपर दिए गए SUBJECT + BODY + POSE + LIGHTING + BACKGROUND + CAMERA + REALISM formula को अपनाइए, दिए गए 15 prompts से शुरुआत कीजिए, और हर बार output देखकर prompt को refine कीजिए। 4-5 iterations के बाद आपके पास अपना personal prompt template तैयार होगा जो हर बार consistent result देगा।
अब prompt copy कीजिए, अपनी photo upload कीजिए, और फर्क खुद देखिए।
#bodybuilder #Prompt #Ai